How To: Proxy in DaVinci Resolve 17
First things first, make sure your folder structure is set from the beginning.
-
RAW footage (separate footage into subfolders if the project is large with multiple cams)
-
Proxies (if necessary)
-
Working files (only localized within the DaVinci file)
-
Timelines (only inside the DaVinci file)
-
Render Houses (only inside the DaVinci file)
-
Assets (Illustrator working files, AE files, AE renders, etc.)
-
VO (if necessary)
-
Music & SFX
-
Renders
NOW we can jump into proxying
-
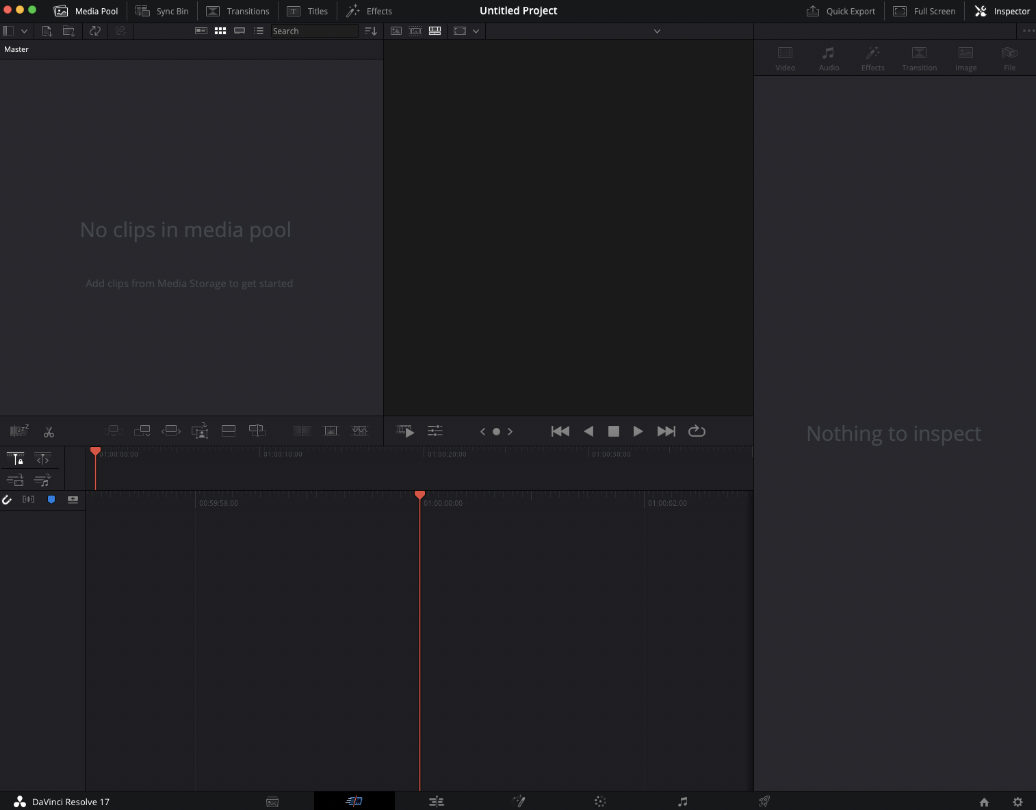
Open DaVinci Resolve 17
-
Open new project
-
Drag and drop files that need to be proxied in the media pool (top left)
-
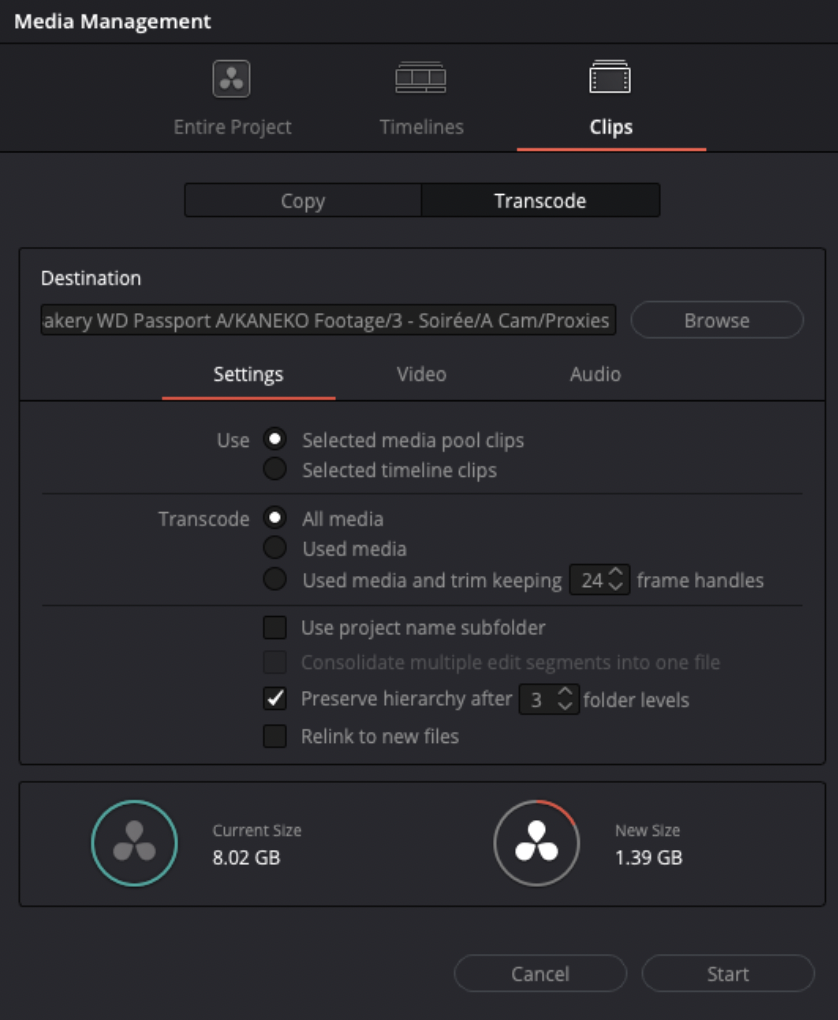
Select all the files then go to File > Media Management
-
Choose Clips tab
-
Choose Transcode tab beneath that
-
Specify the path to your Proxy folder
-
Choose "Transcode all media"
-
To retain original folder structure:
-
Expand "More options"
-
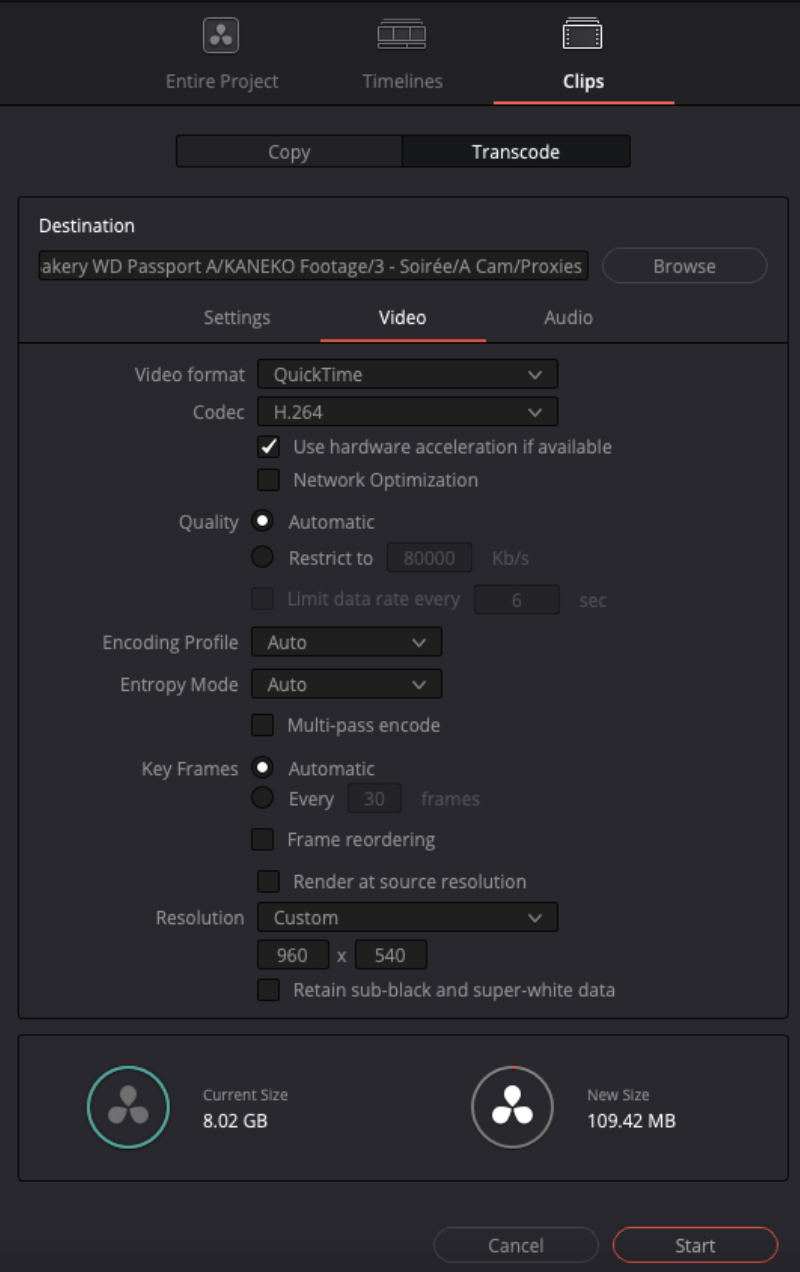
Choose Quicktime video format, H.264, NVIDIA encoder (if available), Medium quality, and -VERY IMPORTANT- deselect "Frame reordering" to experience a super-fast encode process.
-
Choose custom resolution of 960x540 (choose a larger resolution if you need to)
-
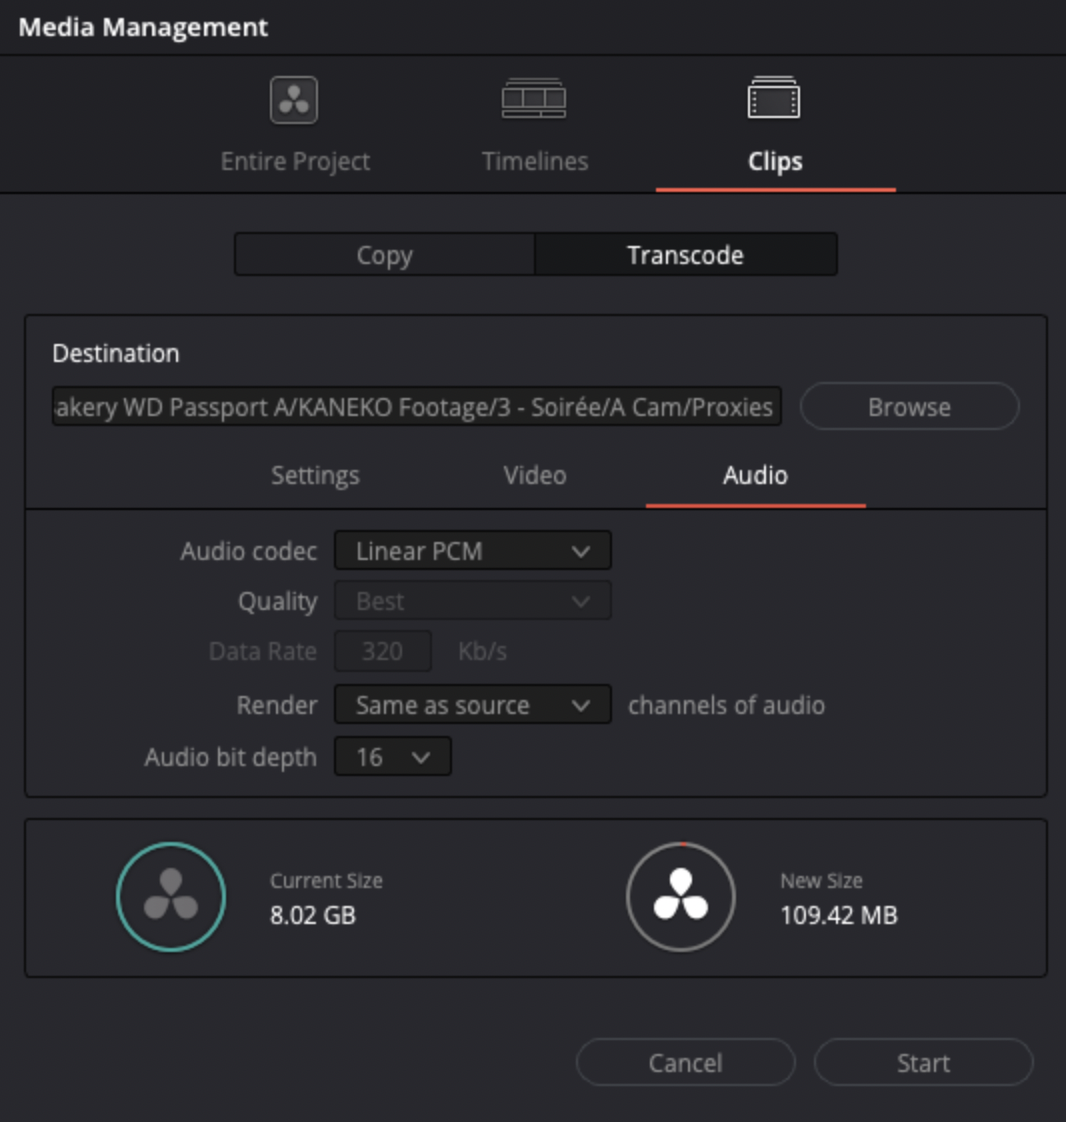
The audio codec should remain Linear PCM
-
Press start on the bottom right of the screen.