How to: Onboard a new client
Moving from discovery to pre-production.
Discovery
During the discovery phase of a project, a client has not signed off on a project nor have they been onboarded into our system yet. However, depending on how warm the relationship is (usually, once they're collaborating with your team by handing over assets and sending over inspo), you can begin the onboarding process by adding them to our Harvest. This allows our team to start tracking hours based on phase (discovery, pre-production, production, post-production) and can happen before anything is signed off on. The steps for how to do so are below.
-
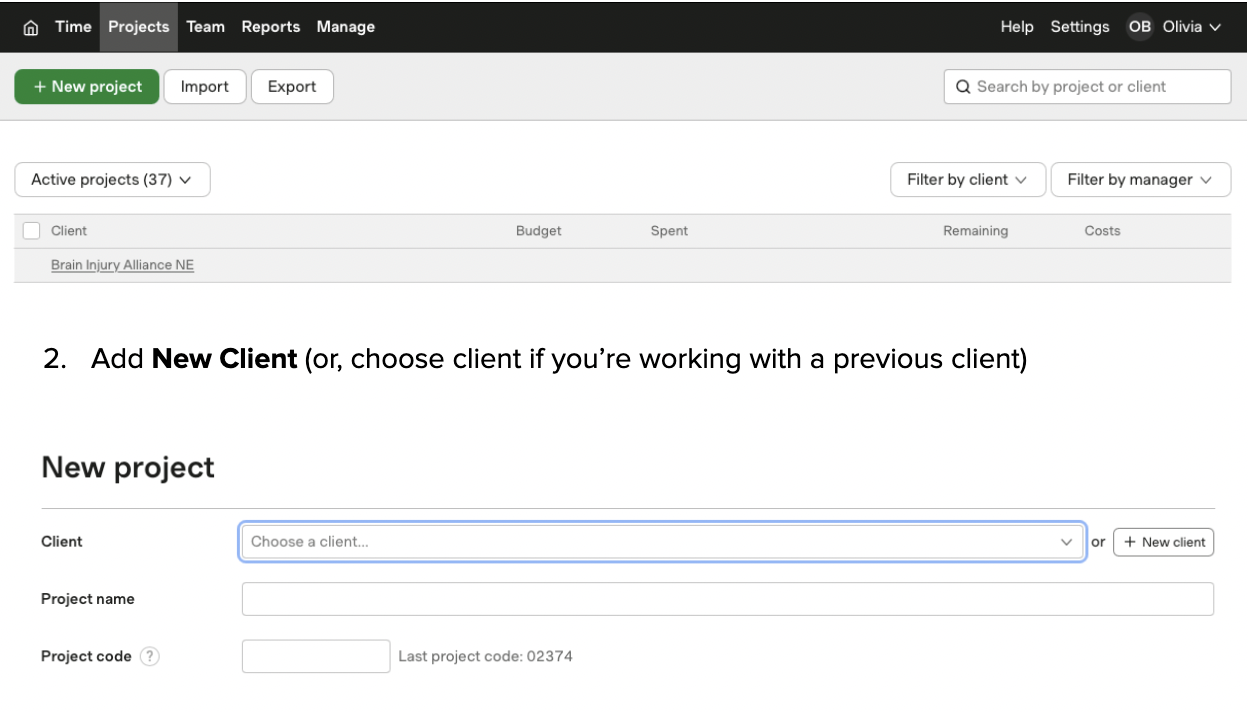
Go to the Projects tab at the top of Harvest.
-
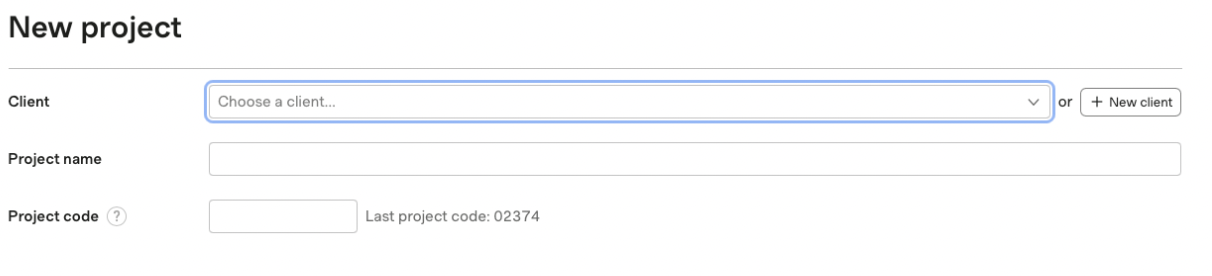
Add New Client (or, choose client if you're working with a previous client)
-
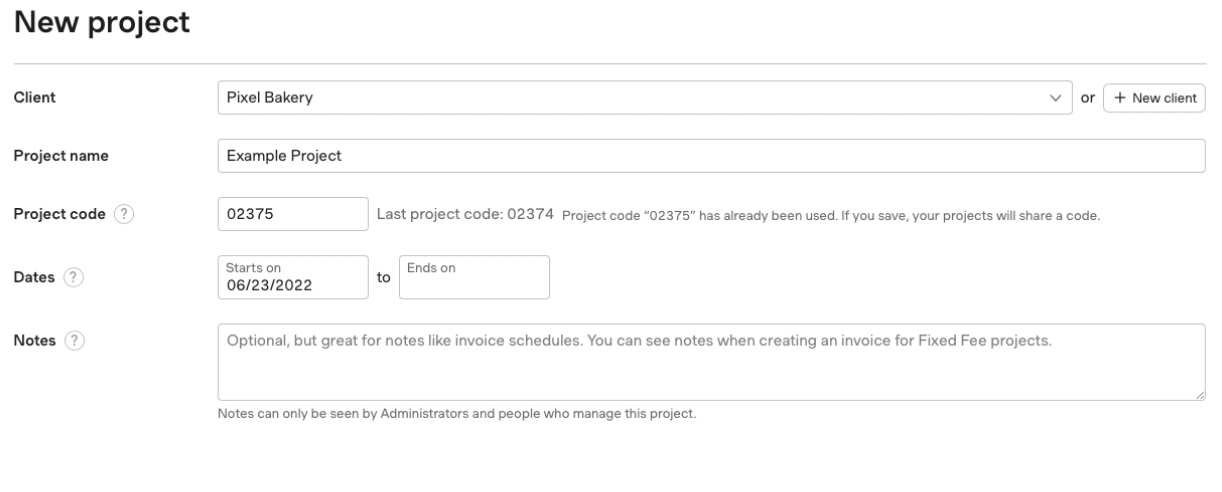
Add Project Name (name can change later, can keep straightforward and brief if nothing comes to mind at first), Project Code, and a Start Date (first discovery meeting)
-
Click Save Project at the bottom of the page. You don't need to fill out an end date or anything budget-wise yet. That'll come after the client signs!

Clerical
Here comes the boring paperwork part! You will, at many points, be asked to write estimates for clients. Luckily, we use an online service called HoneyBook to make this super easy, but you'll still have to do a bit of copywriting (your notes help out a lot with this part). After you've chatted with leadership and solidified a project budget and the scope of the project, you can begin the HoneyBook process.
-
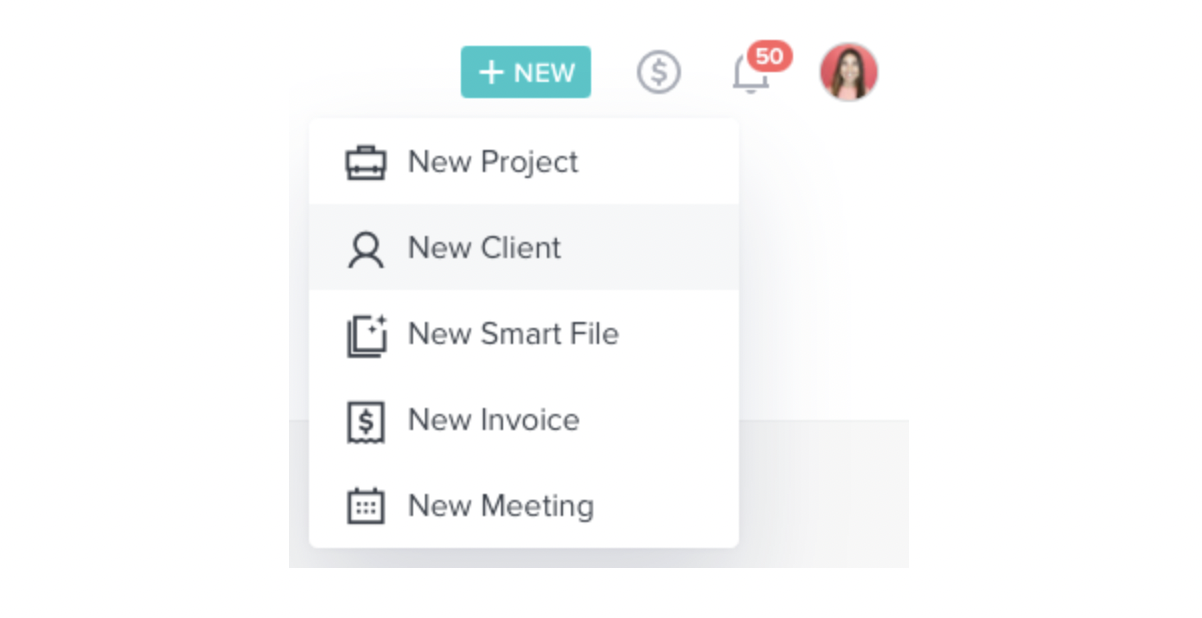
Go to the New button on the top right of HoneyBook. If you've worked with a client before, you would hit New Project and add to an existing client, but for these purposes, we'll click New Client, which will happen more often. Then, fill in the client's email address and name. They will receive a notification that they've been added to our HoneyBook.
-
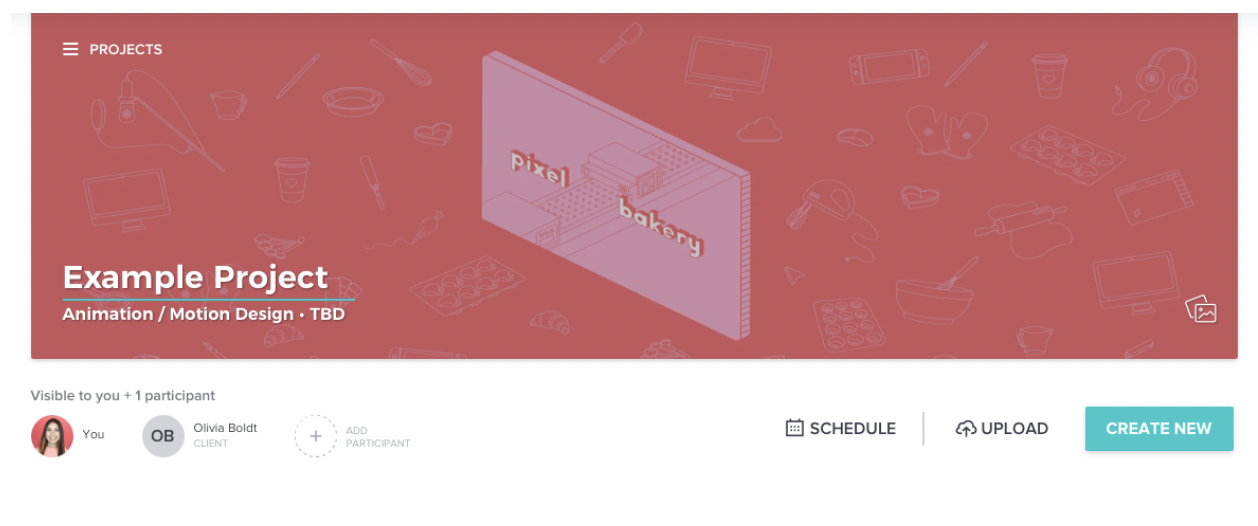
Change the name of the project to something the team and yourself will recognize. You can change this anytime, if needed.
-
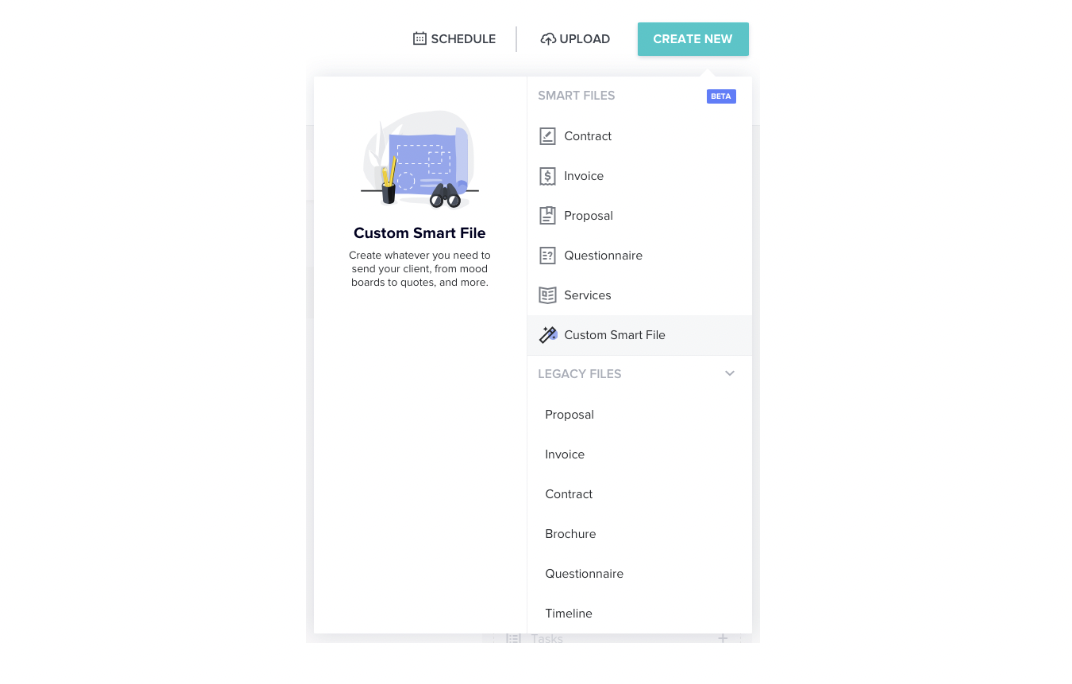
Use the Create New button and click Custom Smart File
-
For new clients, you'll want to click the Client Onboarding template.

-
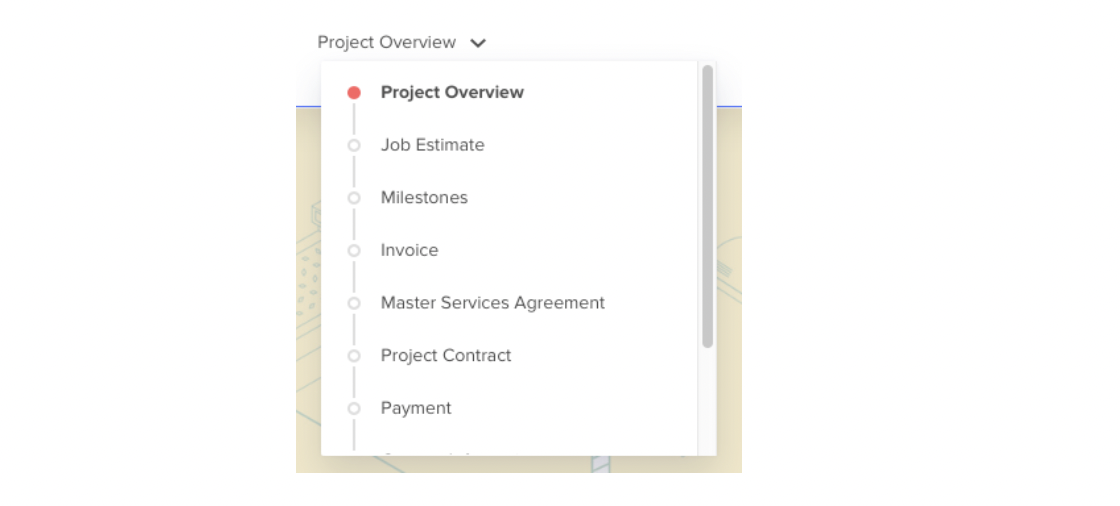
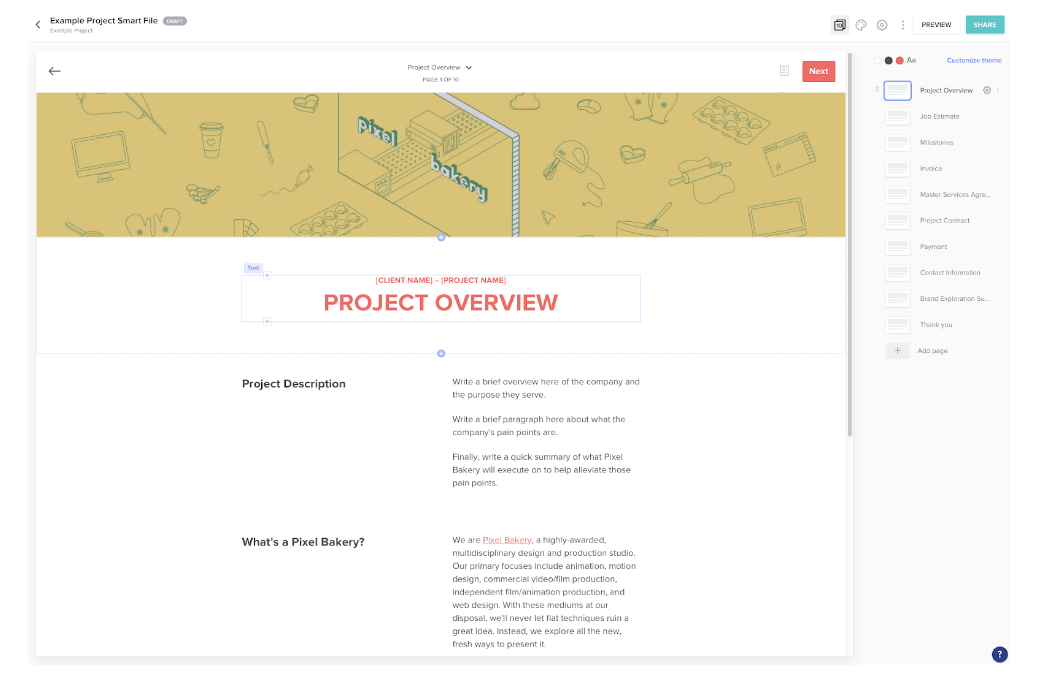
You made it! This is what a HoneyBook onboarding estimate looks like. If you click the page picker menu at the top, you can see that the whole shabang includes a project overview, job estimate, milestones, invoice, MSA, project contract, payment, contact form, brand exploration survey, and thank you. Yes, this is a lot, and depending on the client, you may not need all of the pages.
-
Fill out each page using your discovery notes. The only ones you won't need to fill out are the contact info, brand exploration, and thank you pages. Have Jordan walk you through the process the first couple times around, but it's pretty intuitive and straightforward!
-
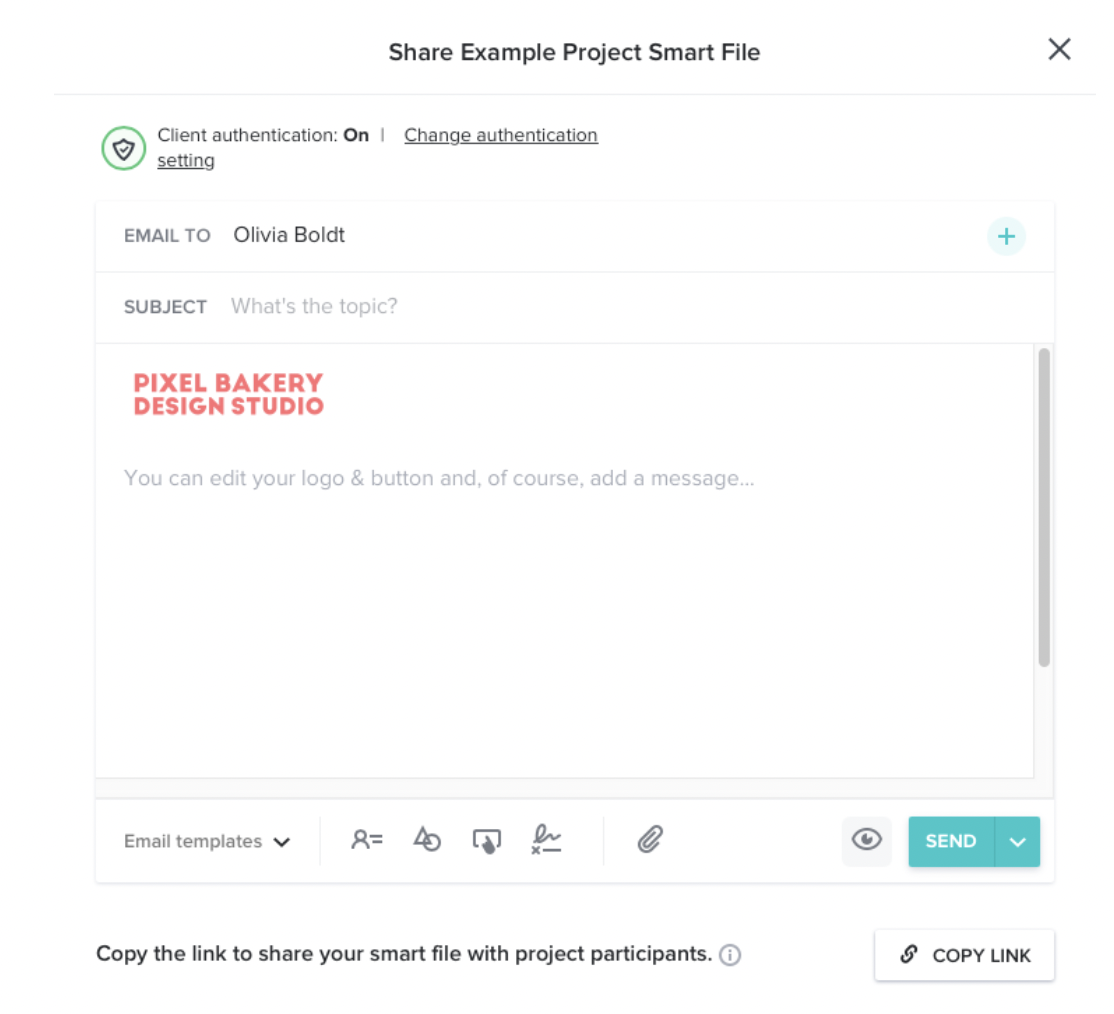
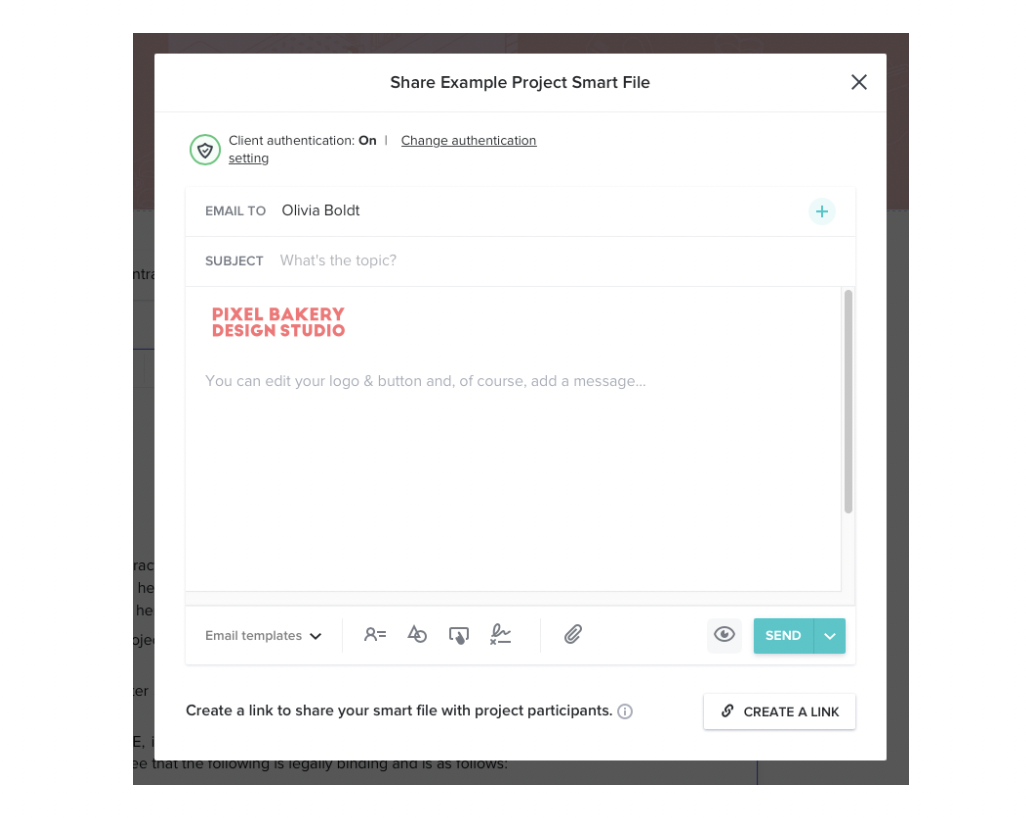
Once everything is filled out, checked over by yourself and leadership, and approved, it's time to send it to the client. You can do so by using the Share button in the top right corner. However, we never share estimates through HoneyBook's email template (below). Instead, click Create Link at the bottom. A prompt will come up asking if you want to create the estimate and mark the project as 'Sent'. Click that button.

-
Then, click the Copy Link button at the bottom of the same pop-up box, and you're good to use that link in a nicely written, custom email to your new client. After they sign, you can set up an official kickoff meeting with them (discussed in the Video Production (opens in a new tab) and Animation Project (opens in a new tab) docs) and begin creating their Monday board (opens in a new tab), which is all outlined in the linked documents.
NOTE: Regarding the Copy Link button, this only appears the first time you're sending over a project. If you need to make changes to an estimate that already exists, at least in my experience, you need to send that via HoneyBook's email template (below), so make sure you are aware of this!
ANOTHER NOTE: Once the client has signed, you can go update the Harvest board with the budget and correct project name.